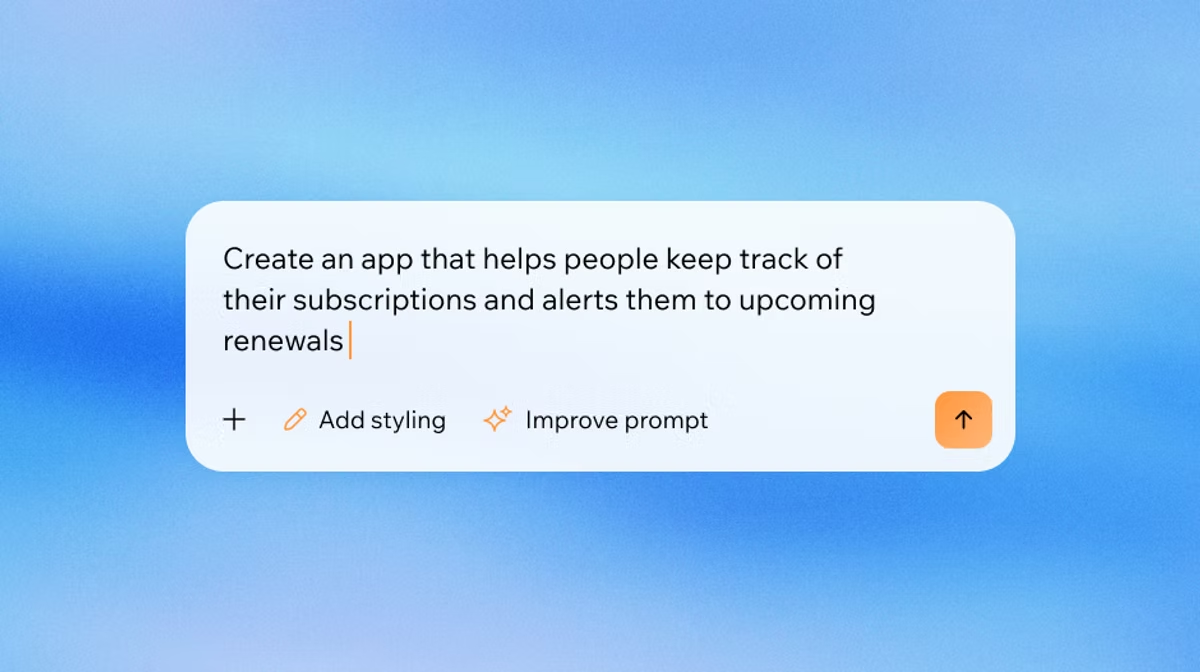
Ready to see what Base44 can do for you? Get started →
Learning how to code an app usually comes down to picking one of two paths: writing the code yourself in a language like Swift, Kotlin, JavaScript or describing what you want to an AI app builder and getting a working product back. Base44 turns a conversation into a fully built app, which is a big part of why that second path has become a realistic option for people who have never opened a code editor.
Both paths solve the same problem, they just move the work to a different place: either you learn the syntax, or you learn how to describe what you want clearly enough for the AI to build it. Neither path is inherently better, since the right one depends on how much time you want to spend on the technical side versus how quickly you want a working product in front of real users. By the time you finish this guide, you'll have a clear sense of which trade-off makes sense for your project.
This guide walks through the traditional coding path in detail: what to decide before you write anything, which tools to install, how to structure your first working version, and what testing and publishing actually involve. If you want to see the fully AI driven version of this process from the start, how to build an app with AI covers that route end to end. Either way, the planning steps below apply no matter which path you choose, so they're worth reading even if you end up skipping the code entirely.
TL;DR: How to code an app
Learning how to code an app well comes down to seven steps, and skipping any one of them is usually why a first app stalls. Define what the app does, sketch the screens and flow, choose a build approach, set up your tools, build one working version end to end, test it on real devices, then publish and keep iterating based on what people actually do with it.
A vague scope in step one tends to turn into a confusing codebase by step five, so the early steps matter more than they seem to at the time. This breakdown works whether you're a complete beginner or an experienced developer looking for a faster way to structure a new project.
| Steps | What to do |
|---|---|
| 1. Define your app | What it does, who uses it, and the three to five features that matter most |
| 2. Sketch the flow | The core loop: open, view, create or edit, and return |
| 3. Choose your build approach | Native code, a cross-platform framework or an AI app builder |
| 4. Set up your environment | Install your IDE or configure your AI app builder instead |
| 5. Build your first version | One complete workflow, end to end, before adding anything else |
| 6. Test on real devices | Real phones, slow connections, empty states, and edge cases |
| 7. Publish and iterate | Submit to the app stores, then update based on real usage |
If you would rather skip the setup and syntax entirely, how to make an app without coding shows how this same seven-step logic works when an AI app builder handles the technical layer for you.
How to code an app in 7 steps
Once you know whether you're building for iOS, Android or the web, how to code an app follows roughly the same shape no matter which language you use. Here's what actually happens between deciding to build something and shipping a version other people can use. Some steps take an afternoon, others take a week, but skipping ahead rarely saves time in practice, since the steps you skip tend to resurface later as bugs or missing features instead.
- Define what your app needs to do
- Sketch your screens and user flow
- Choose how you'll build it (native code, cross-platform or AI/no-code)
- Set up your environment (or your AI app builder)
- Build your first working version
- Test on real devices
- Publish and iterate
01. Define what your app needs to do
Before you touch a line of code, write down what the app does in a single paragraph: who uses it, what problem it solves, and the three to five features that matter most. This sounds obvious, but it's the step most first-time builders skip, and it's the reason so many first apps stall halfway through development.
Keep the first version narrow on purpose. If your app idea has 10 features, pick the two or three that make it usable at all, and treat the rest as a second version. A working app with three features beats an unfinished one with 10 every time, and a narrow scope also makes every later step, from the data structure to the testing checklist, much easier to get right.
Write your one-paragraph scope down somewhere you'll actually look at again, since it's easy to let new feature ideas creep back in once you start building. Treat anything that isn't on that list as a note for a later version, not a reason to pause the one you're working on now. Scope creep at this stage is one of the most expensive mistakes in the entire process, since every feature you add before the core app works pushes back the point where you have something real to test.
02. Sketch your screens and user flow
Draw the core loop before you design anything in detail: a user opens the app, lands on a home screen, creates or edits something, and finds their way back to where they started. This loop becomes the backbone of your code, so it's worth sketching on paper or in a simple wireframe tool before you build a single screen for real. Free tools like a plain notebook, a whiteboard or a basic diagramming app are all you need at this stage.
Most apps, regardless of category, repeat some version of this same loop: list, detail, create, edit. Once you can draw that loop for your specific app, you already know the minimum set of screens you need to build, which makes it much easier to estimate how long the coding itself will actually take.
You don't need design skills for this step, only clarity. A rough box-and-arrow sketch that shows which screen leads to which is more useful right now than a polished mockup, because it forces you to notice gaps in the flow before they turn into missing screens in the code.
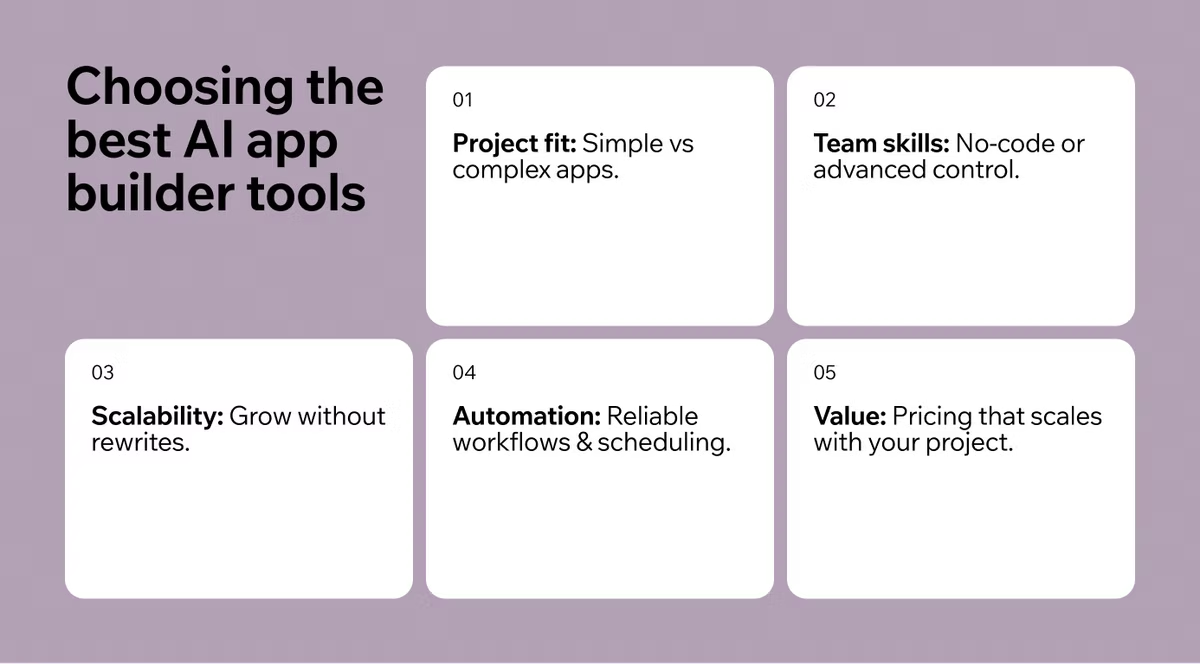
03. Choose how you'll build it (native code, cross-platform or AI/no-code)
For iOS, that means Swift in Xcode. For Android, it means Kotlin in Android Studio. If you want one codebase that runs on both, React Native and Flutter are the two most established cross-platform frameworks, though you'll trade some native polish and access to platform-specific features for the speed of building once instead of twice.
There's a fourth option that skips the coding step altogether: describing your app in plain language and letting an AI app builder generate the working product, backend included. what is a no-code AI app builder covers how that process works in more detail, but the short version is that Base44 AI app builder interprets natural language instructions as app logic, turning a description into working screens, data structures, and business logic without you writing any of it by hand. This is the step that decides how you code an app for the rest of the project, so it's worth being honest about how much time you actually want to spend writing and debugging code yourself.
Cost is part of this decision too. Native development for both platforms roughly doubles your work compared with a single cross-platform codebase, while an AI app builder removes most of the setup and infrastructure cost entirely, since there's no separate backend or hosting bill to manage on your own.
04. Set up your environment (or your AI app builder)
If you're coding natively, install Xcode for iOS or Android Studio for Android, create a new project from the empty template, and confirm you can run a blank app on a simulator before you add anything else. This confirms your tools are working correctly before you've invested any real time in your actual app.
If you're using an AI app builder instead, this entire step effectively disappears. There's no IDE to install, no simulator to configure, and no local database to set up, because the builder handles the environment, hosting, and database automatically the moment you describe what you're building.
Either way, resist the temptation to customize your setup extensively before you've built anything. A default project configuration is almost always good enough to get your first working version live, and you can always adjust settings, themes or plugins once you actually know what your app needs.
05. Build your first working version
Your first milestone isn't the full app, it's one complete workflow from start to finish: a user can create a record, see it appear in a list, and open it to view the details. If you can make that one loop work end to end, you can repeat the same pattern to build out the rest of the app.
Resist the urge to build every screen before testing whether the core loop works. A common mistake is spending weeks on the interface for 10 screens before realizing the underlying data structure doesn't support the way users actually need to move through the app. Build one thing completely before you build 10 things partially.
It helps to time-box this step. Give yourself a fixed window, a weekend or a single week, to get that one workflow working end to end. A hard deadline does more to keep the first version narrow than any amount of willpower, since it forces decisions instead of endless polishing.
06. Test on real devices
Test on an actual phone, not only a simulator or emulator. Touch targets, load times, and battery behavior all differ on real hardware, and issues that never show up in a simulator can make an app feel broken the moment a real user opens it.
Specifically, check what happens on a slow connection, what a blank or empty state looks like before any data exists, and what error message appears when a required field is left blank. These are the cases most first-time builders forget to test, and they're also the cases that make an app feel unfinished even when the core features work.
Ask someone who has never seen the app to use it without your guidance, and watch quietly instead of explaining what to do. Wherever they hesitate or tap the wrong thing is exactly where your interface needs another pass before you consider the app ready to publish.
07. Publish and iterate
For iOS, publishing means enrolling in the Apple Developer Program and submitting your app through Xcode's built-in flow, including screenshots, a description, and a privacy policy. For Android, it means creating a Google Play developer account and uploading a signed Android App Bundle. Both stores review submissions before they go live, so build in a few days of buffer before any planned launch date.
Treat your first release as a starting point rather than a finished product. Watch how people actually use the app, not how you expected them to use it, and ship updates based on that real behavior. The apps that improve fastest tend to be the ones where the builder keeps shipping small updates instead of waiting for one large, infrequent rewrite.
Keep your first update small and fast rather than saving every fix for a major release. A quick patch that solves one real complaint tends to matter more to your early users than a large update six months later that solves 10 problems they'd already worked around on their own.
Base44 how to code an app examples
These examples show what changes when the coding step becomes a conversation instead of a language. Base44 no-code app builder requires zero programming knowledge to use, so each one below started as a plain-language description and ended as a working, full-stack app. None of them required a technical co-founder, a freelance developer or a separate design tool to get to that first working version.
Turn a business idea into a working app without writing code
A small business with a booking or ordering idea can describe the exact flow it needs, for example customers browse available slots, book one, and receive a confirmation, and Base44 builds the screens, the data structure, and the logic behind it in one pass. There's no separate backend to configure and no server to set up before the app actually works. For someone who would otherwise need to hire a developer just to get a first version live, this collapses weeks of coordination into a single afternoon of description and refinement.
Because the app is generated from a description rather than assembled screen by screen, changing the flow later, adding a loyalty feature or a waitlist, for example, is another conversation rather than another development sprint. That matters most in the first few months, when a business is still figuring out exactly which features its customers actually use.
Build a CRM or internal tool from a plain-language description
Internal tools are one of the most common first projects for exactly this reason: the features are well understood in advance. Track customers, log every interaction, and assign follow-ups to the right person on the team. Describing that structure in a few sentences produces a working CRM without writing a single database schema, API endpoint or permissions rule by hand, and because the tool only needs to work for your own team, you can adjust it in minutes as your process changes.
As the team grows, the same plain-language approach applies to adding new fields, new views or a new stage in the pipeline, so the tool keeps pace with how the business actually works instead of requiring a developer for every small change.
Prototype a mobile-friendly app before hiring a developer
If your long-term plan is a fully custom, natively coded app, building the first version with Base44 lets you test the actual concept with real users before you spend a dollar on development. You hand the next builder a working prototype instead of a slide deck or a written spec, which tends to produce a more accurate quote and a faster build, since most of the ambiguity has already been resolved. how to make a mobile app covers the platform decisions that carry over either way, whether you end up shipping the prototype itself or rebuilding it natively later.
It also gives you a much clearer answer to the question every early founder asks: whether people actually want this, before you've committed real development budget to finding out.
Add AI agents and automations to an app you already built
Once the core app works, you can add features like automatic follow-up emails, data syncing between tools or an AI agent that handles a repetitive task inside the app itself, such as sorting incoming requests or drafting a first response. You don't need to code that part either: you can build an AI agent by describing its job in plain language. This is usually the exact point where coding an app by hand starts costing real time, because every new feature means new code, new tests, and a growing number of edge cases to track by hand.
Base44 backend gives AI agents secure access to your app's data and logic, which is what makes it possible to add an agent to an app you already built without re-architecting anything underneath it. Coded by hand, the same addition would usually mean new permissions logic, new API endpoints, and a fresh round of testing before it was safe to ship.
Turn your idea into an app with Base44
How to code an app FAQ
Can I code an app by myself with no experience?
Yes, as long as you scope the first version down to one core workflow instead of trying to build everything you've imagined at once. Most people who successfully teach themselves get there by shipping something small and real within the first few weeks, then learning the next piece only when they actually need it, rather than studying for months before writing a single line of working code. The people who stall are usually the ones who try to learn every concept up front instead of learning just enough to ship the next small piece. Treat your first app as a learning project as much as a product, since the two goals reinforce each other more than people expect.
How long does it take to code an app?
A simple app built around one clear workflow can take anywhere from a few days to a few weeks if you already know how to code, and considerably longer if you're learning the language at the same time as building the app. Complexity matters more than platform choice here: a simple booking app and a simple to-do list take roughly the same amount of time to code, while a marketplace with payments and messaging takes meaningfully longer regardless of which platform you choose. how long does AI app development take breaks down how that timeline changes when an AI app builder handles the setup, backend, and boilerplate for you instead.
How much does it cost to code an app?
Coding an app yourself is close to free if you already know how to program, since most of the languages, compilers, and frameworks involved are open source and your main cost is your own time. Hiring a developer to build the same app typically starts in the low thousands of dollars for something simple and climbs quickly from there depending on how many features and platforms are involved. Freelance developers typically fall somewhere between those two extremes, and a full development agency costs more again, since you're paying for a whole team instead of a single person's time. Whichever route you choose, get a written scope of work first, since most cost overruns come from features added after the price was agreed rather than from the original estimate being wrong from the start.
Do I need to know how to code to build an app?
No. Coding is one way to build an app, not the only way that exists today. An AI app builder like Base44 lets you describe what you want in plain language and get back a working, full-stack app, which is why a growing number of non-technical founders skip the coding step entirely and go straight from idea to working product. Even technical founders increasingly choose this route for early versions, saving their own coding time for the parts of the product that genuinely need custom logic.
What is the easiest way to code an app?
If ease matters more than learning to program, the easiest path isn't really coding at all: describing your app to an AI builder and refining it through conversation until it matches what you had in mind. If you do want to write the code yourself, starting with a single platform in the language built for it, Swift for iOS or Kotlin for Android, is simpler than learning a cross-platform framework before you've shipped anything at all. Either way, the planning steps earlier in this guide, defining your scope and sketching your flow, matter just as much before you start building as they do before you start coding.
What programming language should I learn first to code an app?
If you're set on learning to code, Swift for iOS or Kotlin for Android is a more direct path than a general-purpose language, since you'll be working with real app frameworks from your first lesson instead of abstract exercises. JavaScript is a reasonable alternative if you'd rather build a web app first, since the skills transfer to React Native later if you decide to go mobile. Whichever language you pick, build something small and real within your first week rather than working through an entire course before writing your own app, since a real project is what turns tutorial knowledge into a skill you can actually use.